Additional characteristics
Magnetic Band
The current magnetic stripe reading is limited to non-financial cards.
1.0 Library implementation.
The library will be implemented in the libs folder at the app level by adding the file smartapi.aar
2.0 Initialize SDK and assign variable
Step 1: We need to initialize the SDK in order to make use of all available methods by calling the createSmartApi() method. In this example we create a constant called smartApi.
Example:
private val smartApi =SmartApiFactory.createSmartApi(this)private SmartApi smartApi = SmartApiFactory.INSTANCE.createSmartApi(this);3.0 Request and Getting Response
Step 2: The method .doTrans(ReadRequest("mx.com.netpay.demosdk"))) is called, which receives the package id of the current application, and the response is retrived on the activity on result.
Petition:
/**Read magnetic band*/
readMagnetic.setOnClickListener {

    smartApi.doTrans(ReadRequest("mx.com.netpay.demosdk"))
}
/**Read magnetic band*/
readMagnetic.setOnClickListener(new View.OnClickListener() {
@Override
public void onClick(View v) {
smartApi.doTrans(new ReadRequest("mx.com.netpay.demosdk"));
}
});
)
}Response
override fun onActivityResult(requestCode: Int, resultCode: Int, data: Intent?) {
    if(data != null) {
        val response = when(requestCode) {
            Constants.READ_MAGNETIC_REQUEST-> smartApi.onResult(requestCode,resultCode,data) as ReadResponse  else -> null
        }
        tvResponse.text = Gson().toJson(response)
    }
}
@Override
protected void onActivityResult(int requestCode, int resultCode, @Nullable Intent data) {
super.onActivityResult(requestCode, resultCode, data);
if(data != null) {
BaseResponse response = null;
switch (requestCode) {
case Constants.READ_MAGNETIC_REQUEST:
response = (ReadResponse) smartApi.onResult(requestCode, resultCode, data);
break;
}
if (response != null) {
responseTv.setText(new Gson().toJson(response));
}
}
}4.0 Request and Get Response
Step 1: Enter the DemoSDK app, the following screen will be displayed.
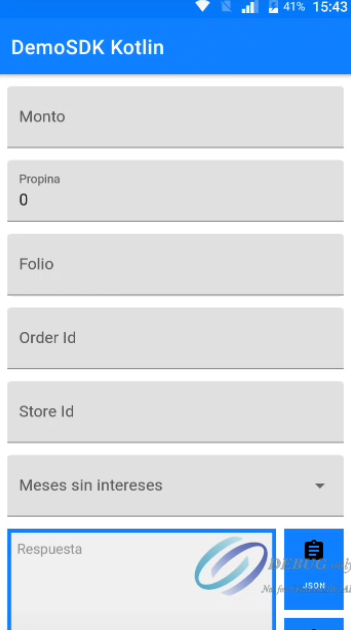
Step 2: Press the option to Read Magnetic Cards

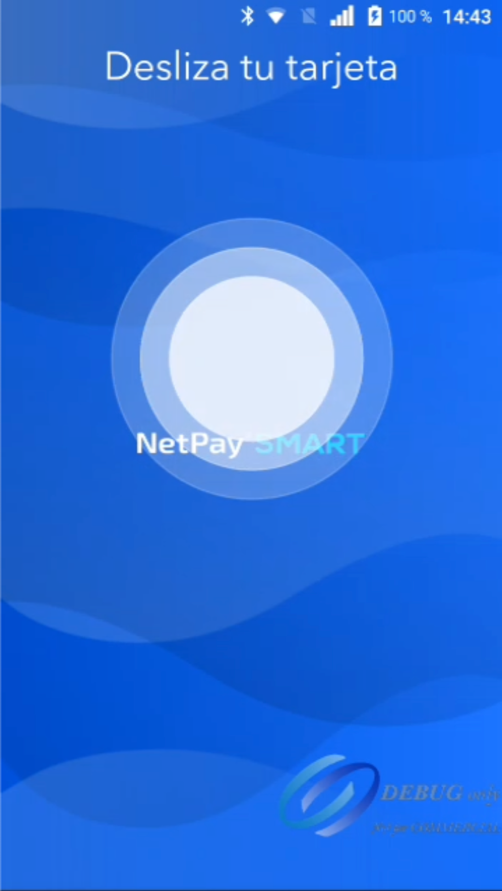
Step 3: Swipe card and the following screen will display "Desliza tu tarjeta"
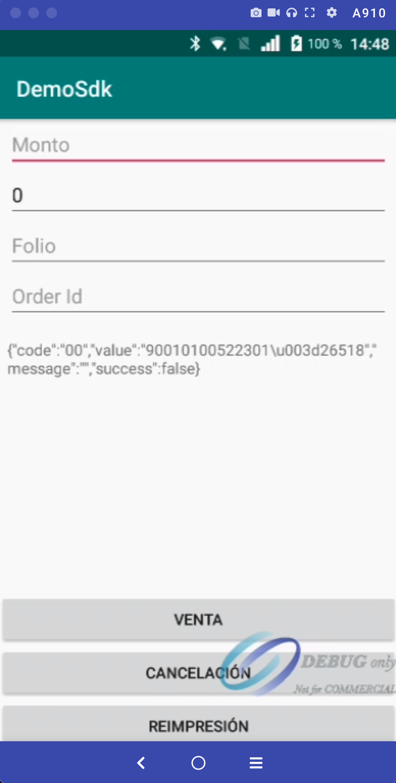
Step 4: Later, reading the card, the information will return with the following format, since track 2 is read on a magnetic stripe, it will return a card number and a number concatenated by an “=” or encoding .
QR code implementation
If it is required to implement a QR code in the transaction, you can do it with the following example code.
printButton.setOnClickListener(View.OnClickListener {
            //Create a Page
            val page = smartApi.createPage()
            //Create unit containing text and other formats
            val unit1 = page.createUnit()
            unit1.text = "nuevo Texto 1"
            unit1.gravity = Gravity.START
            // 2 or more units can be added to a line and it will be split into columns
            val unit2 = page.createUnit()
            unit2.text = "nuevo Texto 2"
            unit2.gravity = Gravity.END
            //Create a line and add its units.
            page.addLine().addUnit(unit1).addUnit(unit2)
            //Create a new unit
            val unit3 = page.createUnit()
            unit3.text = "nuevo texto 3"
            unit3.gravity = Gravity.CENTER
            //Create a new line and add the passed unit
            page.addLine().addUnit(unit3)
            //A request of the type PrintRequest is created with the package name of the app and the created page


            page.addLine().addUnit(page.createUnit().apply {
                text = ""
                bitmap = logoBitmap(R.drawable.qr)
                gravity = Gravity.CENTER
            })


            val unit4 = page.createUnit()
            unit4.text = "Texto 4"
            unit4.gravity = Gravity.CENTER
            page.addLine().addUnit(unit4)


            val printRequest = PrintRequest("mx.com.netpay.demosdk", page)
            smartApi.doTrans(printRequest)
  })
Note.In the additional data you can add both text and images as shown in the example above.
Example of ticket with QR code.
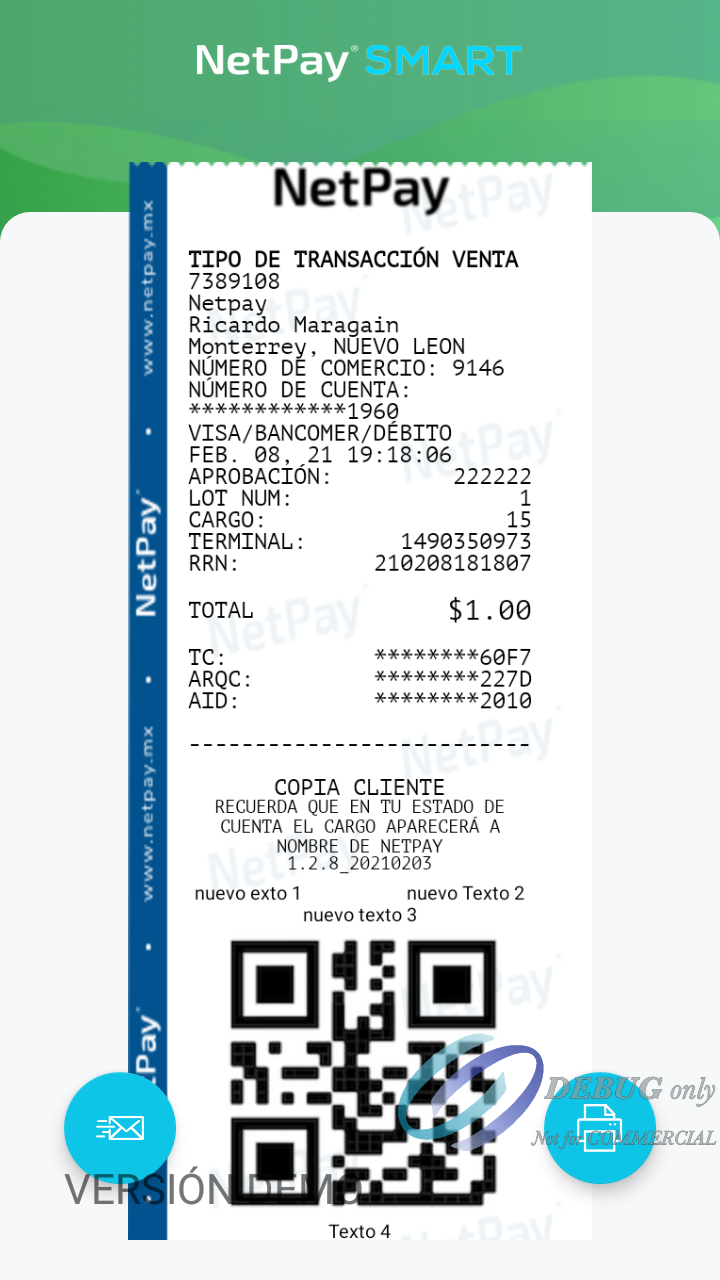
Note.To simulate this QR demo on the ticket, you can press the Additional Data Sale button in the readme section [Demo SDK](https://docs.netpay.com.mx/docs/smart-sdk# demo-sdk)
NFC Tags
The tags practically expect a response message, some tags do not have a message internally, and the information could be returned as empty, for the same reason, in order to access them, it is necessary to configure the message to be able to see it.
This same method accesses these 3 types of tags

It must be taken into account that to make this configuration it must be from another device compatible with NFC reading and that it can be modified through the NFC tools and NFC reader applications.
This method does not require authentication as such, it supports 3 tags.
This method does not require authentication as such, it supports 3 tags.
Technical characteristics of the NTAG series NFC Tags
NTAG - 213
NTAG - 215
NTAG - 216
In particular in the second method that refers to the tags with authorization.

In the case of NFC tags with authorization, the following parameters must be added: app id (package), block (in this case block 0 is required), and password. The password is usually provided by the manufacturer of the tags, sending "null" will set the default key, in this case it can be handled as null since the key "FFFFFFFFFFFF" is used.
This requires authentication and it returns an RFID
Updated about 1 year ago